Schedule a Report to Generate and Send
Use the following steps to schedule a report to automatically generate and then send to a recipient, for example, fleet reports for invoicing. Reports can be scheduled to generate and send as a one-time occurrence, or on a recurring schedule. Steps are provided for both.
Note: See Scheduled Tasks (Tools) for additional information about this tool.
Tools Required
- DirectorX user account with access to the Scheduled Tasks tool.
Steps
- Log In to DirectorX.
- Select Tools>Scheduled Tasks. The Scheduled Tasks panel opens.
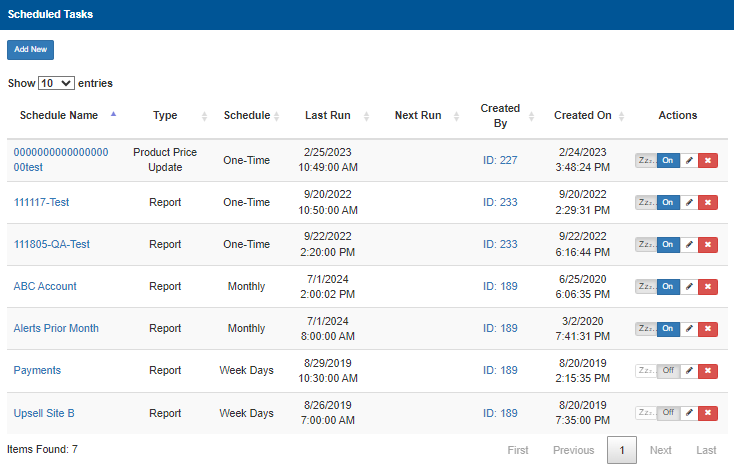
- Select Add New. The Scheduler opens.
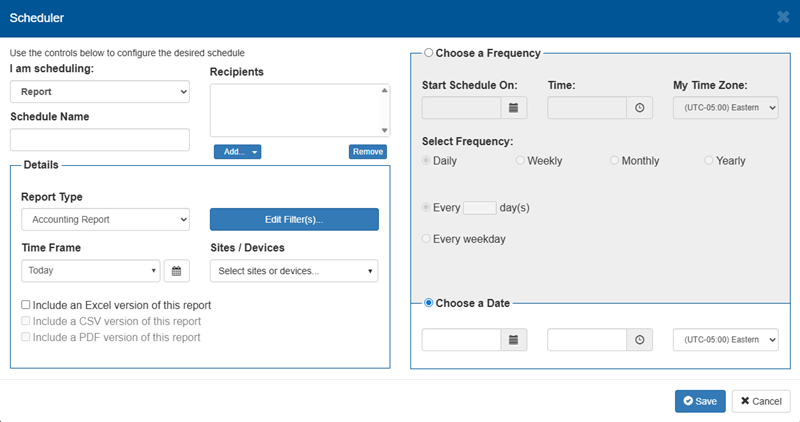
- In I am scheduling, select Report.
- In Schedule Name, enter an identifier for the scheduled report.
- In Recipients, select Add....
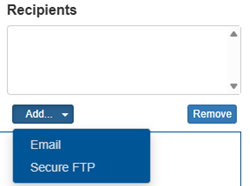
- Select Email. The Add Email dialog opens.
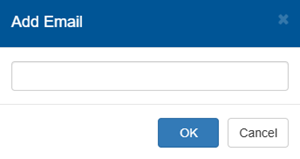
- Enter the recipient's email address.
- Select OK. The dialog closes and the email address is added to Recipients.
- Repeat the steps for each additional email address.
- Navigate to the Details section.
- In Report Type, select the report to send, for example, Accounting Report.
- Select Edit Filters to customize report data.
- In Time Frame, select the time frame.
- In Sites / Devices, select the sites and devices from the drop-down menu.
- Select Include an Excel version of the report to also include an XLSX file of the report.
- Navigate to the Choose a Frequency section.
- Select a start date and time and enter your time zone.
- Select the Frequency.
- Select whether you would like to receive the report on a daily basis or at another time frame.
- Choose the date.
- Select Save.
Updated: 040126